How to install the LS16 letter chute into a wall being built
6 Steps to fitting your LS16 Oakley letter chute assembly into a brick wall being built
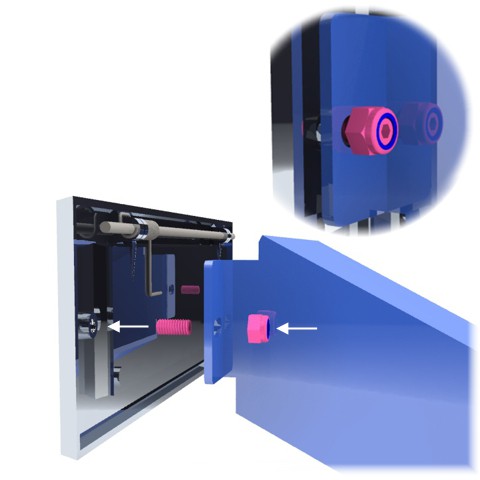 |
Step 1 Insert the grub screws into the threaded inserts of the letterplate then secure to the front sleeve using the 2 nylocs. |
|
|
|
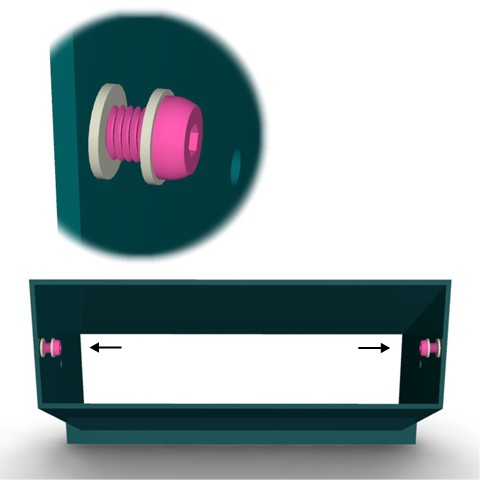 |
Step 2 The rear chute has 2 sets of securing holes, the set required will depend on the depth of the wall. The diagram shows the set used for deeper walls. Place 2 nylon washers onto each of the 4 securing bolts and loosely screw into the securing holes. Position the washers as shown.
|
|
|
|
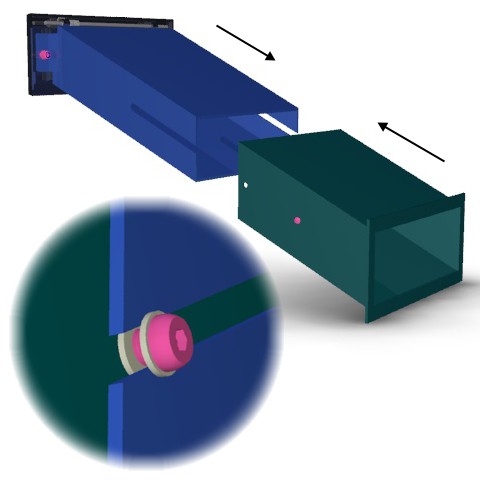 |
Step 3 Slide the 2 sections together ensuring that the securing bolts locate in the adjusting slots with a nylon washer either side of the section. Set the overall depth of the chute to the thickness of the wall and lock the securing bolts up with the 5mm allan key. |
|
|
|
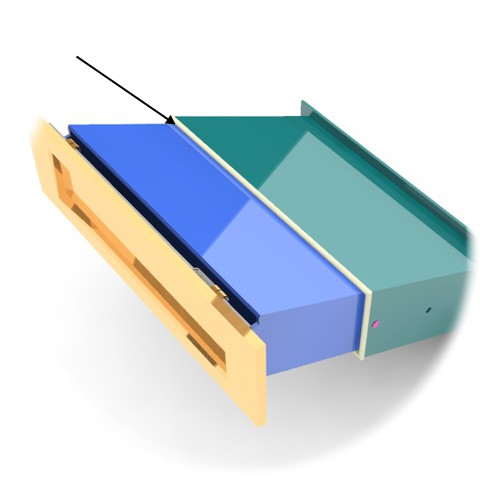 |
Step 4 Slide Run a bead of silicon around the join of the front and rear sections. |
|
|
|
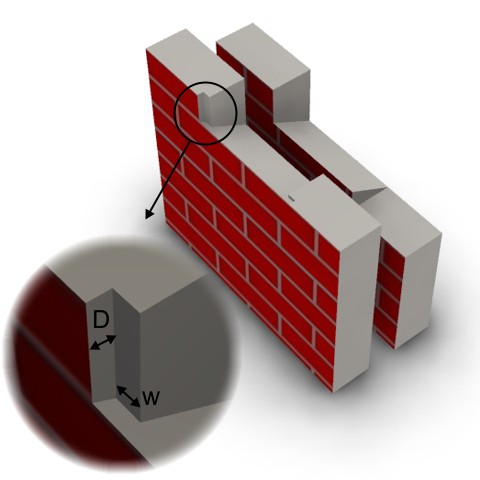 |
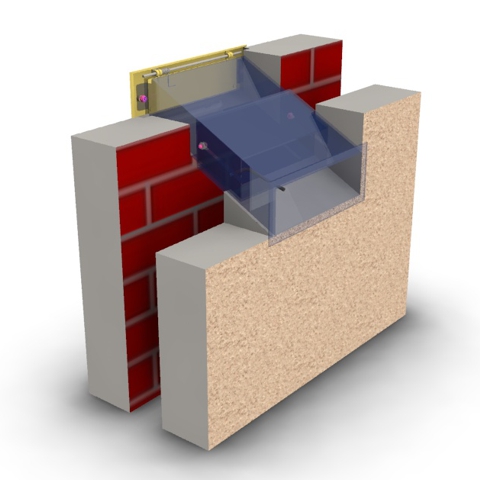
Step 5 Build the brickwork up to the levels of the chute assembly. Use the chute assembly as a guide and cut the bricks to shape. The slope on the rear wall is not critical but the front wall needs to be reasonably good. The slope angle is 28 degrees. Note the notch cutouts on the front wall, the dimensions are shown below
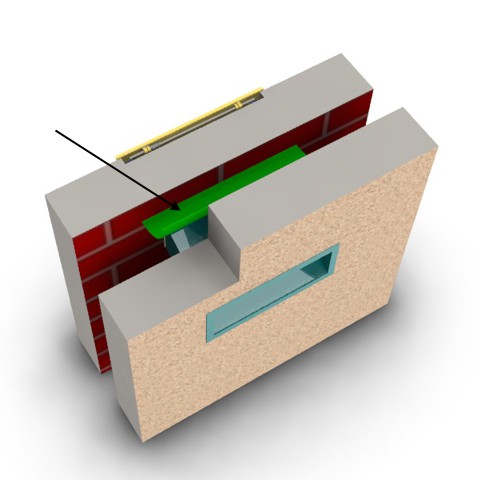
It is advised that a membrane is fitted above the chute and sealed on the 2 edges in contact with the walls.
|
 |
|
 |
|
|
|
|
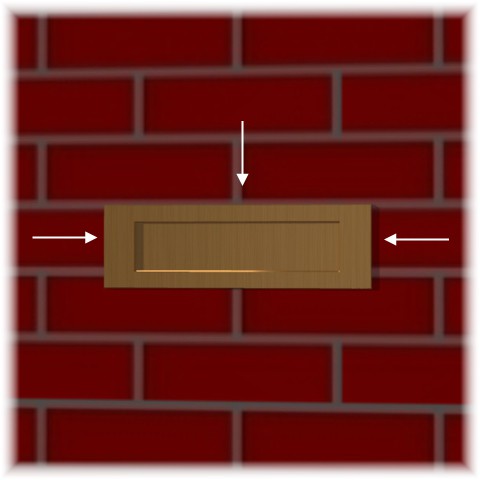 |
Step 6 Continue to build the wall around the letter chute. After the brickwork has set, run a neat bead of clear silicon around the top and sides where the letterplate meets the brickwork. Do not apply to the bottom edge.
|
Click here to return to LS16 Oakley Letter Chute
Published in


