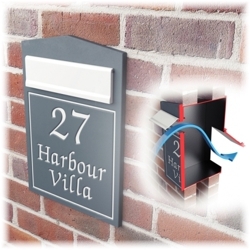
Mrs. S. Fisher, Chelmsford


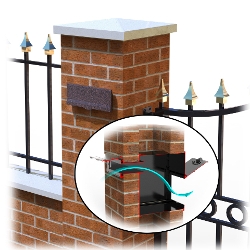
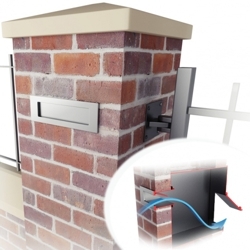
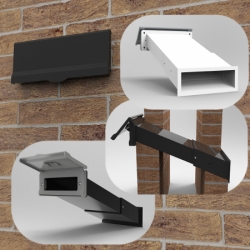

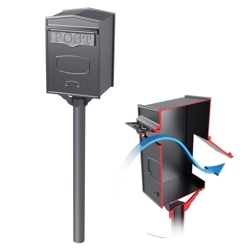


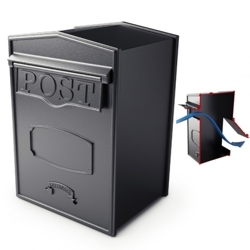
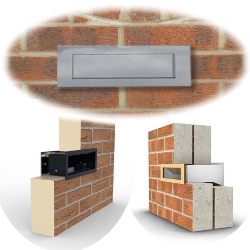
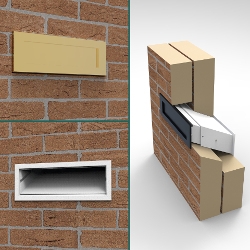


How to Install your LS13 Letter Chute assembly into an existing brick wall
6 Steps to fitting your LS13 Orwell letter chute assembly into an existing brick wall
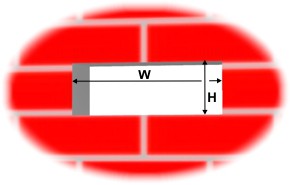
Step 1
Cut a hole as illustrated on the front wall at the required location of the letter plate.
W = 260mm, H = 88mm

Step 2
Cut a notch out of the brickwork either side as illustrated
A = 8mm, H = 62mm, W = 18mm, D = 10mm
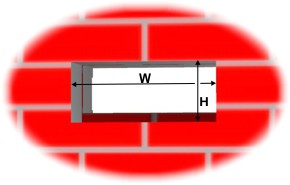

Step 3
Extend the hole cut in the front wall through the back wall and then cut away an additional 20mm from the bottom of the back wall to make a total depth of 108mm. The tops of the front and back holes remain level.
W = 260mm, H = 108mm

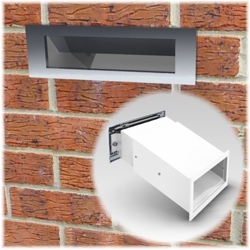
Step 4
Use the 2 nylocs to attach the letter plate to the front section. Note the orientation of the chute, the larger gap is to the top.
Do not over tighten the nuts.

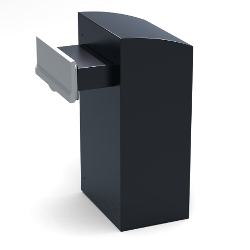
Step 5
Slide the front chute assembly through the hole made in the brickwork, then with the aid of an assistant, carefully slide the rear section through the brickwork and over the front section sleeve. Be careful not to damage the seal on the front assembly.
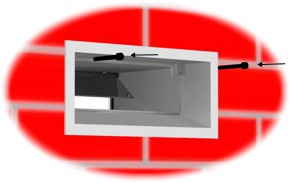
 Step 6
Secure the front and rear sections together using the bolts provided.
Do not over tighten the bolts.
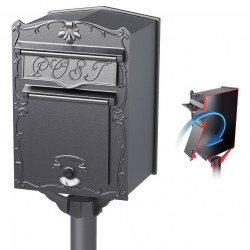
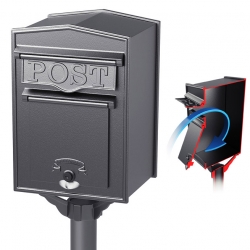
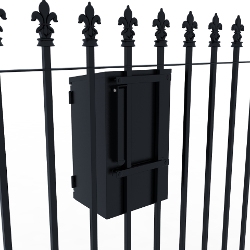
Click here to return to LS13 Orwell Letter Chute